A recipe suggestion from my friend Jennifer and a lack of refrigerator space led me to create these cherry shortbread cookies.
A while back, Jennifer, who also happens to be a chef, mentioned that she made some wonderful sour cherry shortbread from Leslie Mackie's "Macrina Bakery and Cafe" cookbook.
I found the recipe and liked it but knew I couldn't follow it precisely since it called for rolling the dough into two large rectangles and then chilling them on two sheetpans in the refrigerator. I don't have that much refrigerator space! I wish I did.
My solution was to change the recipe's ingredients and method a bit. Instead of chilling the sheets of dough, I rolled the dough into logs that I could fit into my fridge and then sliced them into cookies.
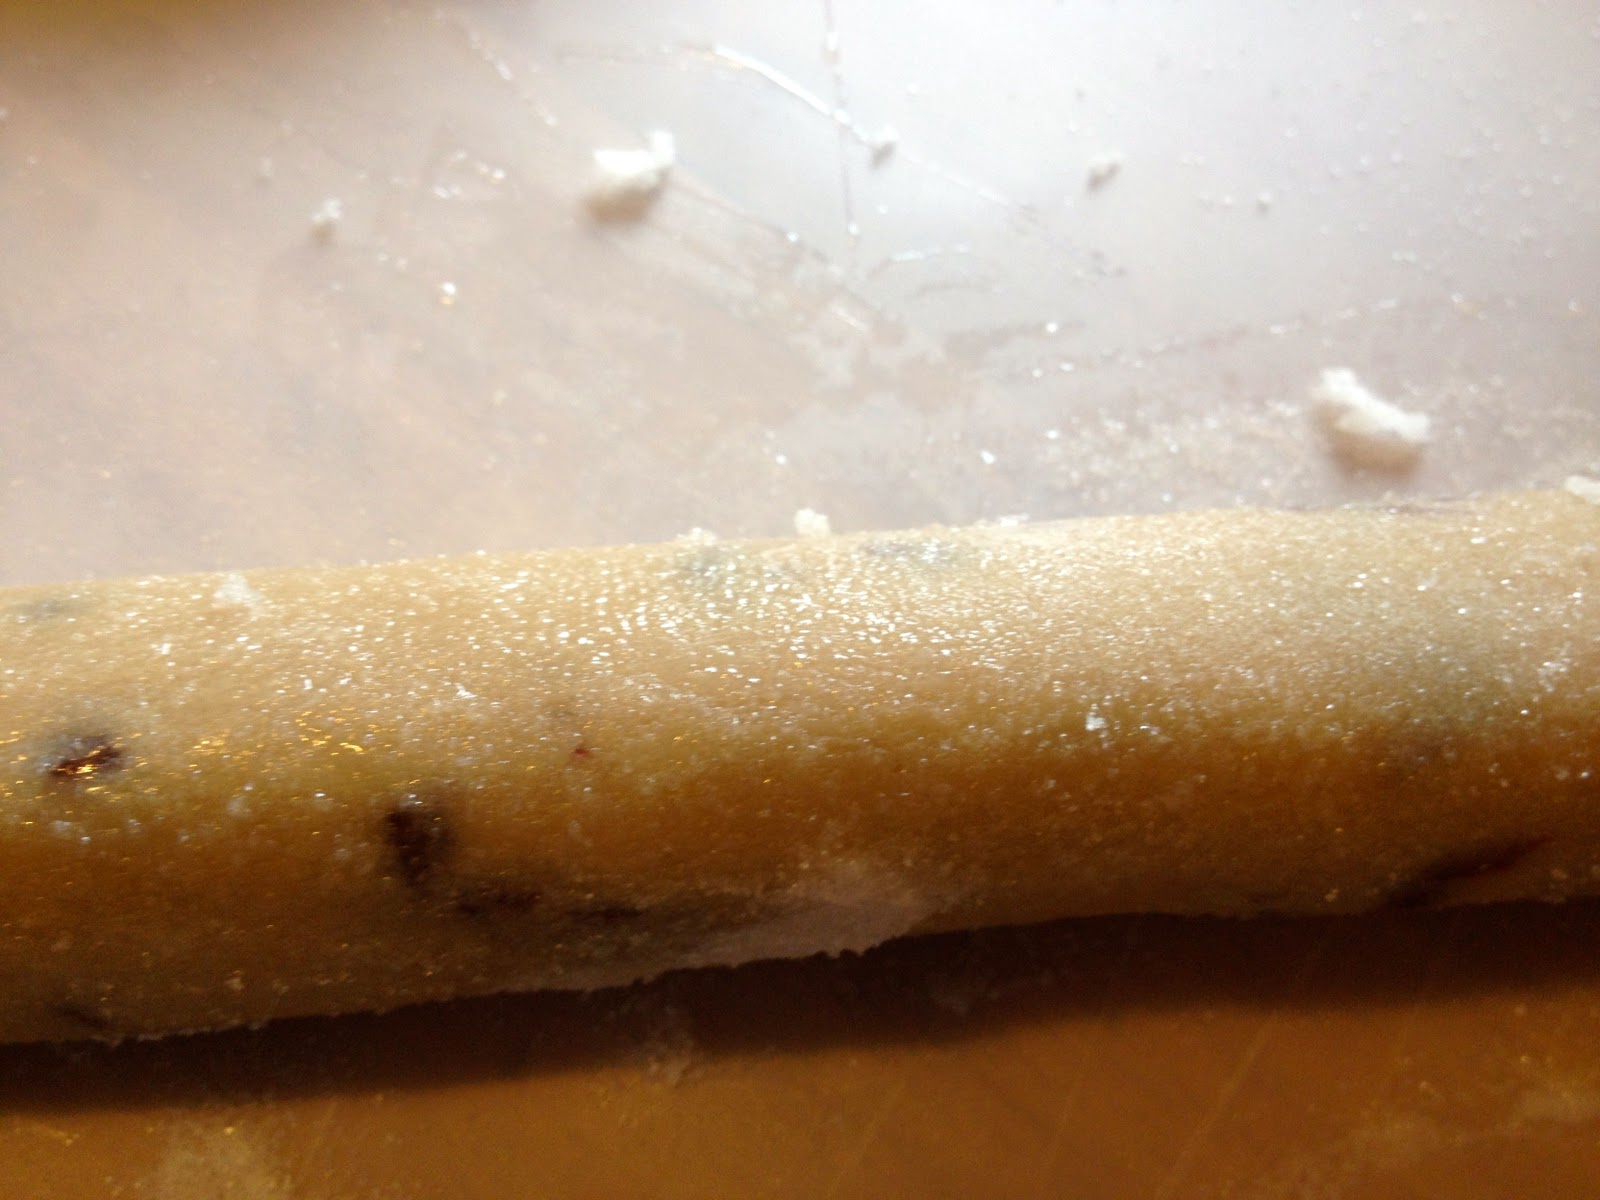
Before cutting, I brushed the logs with egg white and rolled them in granulated sugar for a sweet and pretty coating around the edges.
I also increased the amount of dried cherries by 1/4 cup, substituted dark brown for the light brown sugar and added 1/2 teaspoon of almond extract. In my baking, I've discovered that the flavor of almond and cherry are kissing cousins and a bit of almond extract in cherry desserts really enhances them.
These cookies come together fast and you'll get five dozen with just one batch.
Cherry Shortbread
(makes 5 dozen)
1 cup dark brown sugar, lightly packed
1/2 cup cornstarch
3 1/2 cups flour
1 teaspoon fine sea salt
2 cups unsalted butter, softened
1 cup tart dried cherries, chopped (I like Tart Montmorency Cherries from Trader Joe's)
1 tablespoon vanilla extract
1/2 teaspoon almond extract
1 egg white
granulated sugar
In a stand mixer, combine the sugar, cornstarch, flour, salt. Mix until combined and add the butter, a bit at a time. The mixture will look dry at first but then magically come together as you add the last bit of butter. Add the cherries, vanilla and almond extract and mix just until well combined.
 |
| The mixture will look like this before you add the cherries and flavorings. |
Divide the dough into three parts. Roll each part into a 12 to 15 inch log that is about 1 1/2 -inches in diameter. Wrap each log with plastic wrap and refrigerate for at least 1 hour or until the logs are very firm.
 |
| Roll each third of the dough into a log. I find that it is easiest to roughly shape the dough, wrap it in the plastic wrap and then roll some more. |
 |
| Place the logs in the refrigerator to cool for 1 hour. |
Preheat the oven to 325 degrees and line four baking sheets with parchment paper.
Brush one log at a time with egg white and coat with granulated sugar. Slice the log into 1/4 thick cookies and place on sheetpans leaving at least 1-inch space between them.
 |
| Brush each log with egg white and roll in granulated sugar. |
 |
| Leave space between the cookies because they will spread a bit. |
Bake for 20 to 25 minutes or until just golden brown around the edges. Let cool before removing from the sheet pan.
 |
| Let the cookies cool before packaging. |
 |
| A package of cookies ready to give. I made three stacks of three cookies in cupcake papers and then placed them in a food safe cellophane bag. A pretty bow is a nice touch. |