Saturday, December 8, 2012

Black Forest Cupcakes

I made these Black Forest Cupcakes for my friend Fred's birthday. To create them I used my favorite chocolate cake recipe from the back of the box of Trader Joe's cocoa powder and then made a cherry filling using dark Morello cherries.

I like the homemade filling because it isn't too sweet and the flavor of the cherries really stands out as opposed to canned cherry filling that tastes more like straight sugar than cherries.

To finish them off I made a Swiss Meringue chocolate buttercream and topped them with a stemmed Maraschino cherry. These treats are pretty and festive and would be a great addition to your holiday table.

Here's the recipe:

Black Forest Cupcakes
(makes 24 to 30 cupcakes)
"World's Greatest and Easiest Chocolate Cake":
 3 1/3 cups flour
1 1/3 cups cocoa powder
3 cups sugar
1 tablespoon baking soda
1 teaspoons salt
12 ounces butter 
3 cups buttermilk
1 teaspoon vanilla 
5 eggs

Preheat oven to 350 degrees. Line muffin tins with cupcake papers.
Place all ingredients in electric mixer bowl and beat on high speed for 3 minutes, scraping down sides of bowl once during mixing. Pour into muffin tins.  Bake cupcakes for about 25 minutes or until toothpick inserted in the center comes out clean.
Cupcakes ready for the oven. This recipe makes a lot so you might have to bake them in batches if you don't have enough muffin tins.
Cherry Filling:
1 cup Dark Morello Cherries, drained (I buy mine at Trader Joe's)
1 tablespoon of the cherry juice
1/4 cup sugar
1/2 teaspoon almond extract
1 teaspoon cornstarch
1/8 cup milk
1/4 cup butter, room temperature
1 8 oz. package cream cheese, softened
In a saucepan, combine cherries, sugar and almond extract. Cook over medium heat for five minutes until simmering and try to smash the cherries as much as possible. 
Simmering cherries, try to smash them up as much as possible as they simmer.
In a small cup combine the cornstarch and milk. Mix until smooth and add to the simmering cherries, stirring constantly. Simmer another 4 minutes or until the mixture is thickened.

Transfer the cherries to the mixing bowl of a stand mixer with a whisk attachment. Beat for three minutes to help break up the cherries more. Let this mixture cool completely before adding the final ingredients.
After breaking up the cherries more by using your whisk attachment, let this cool completely at room temperature before adding the butter and cream cheese.

When the mixture is completely cool, add the butter and cream cheese and whip until smooth. 
Your filling will look like this after adding the butter and cream cheese.

Transfer to a pastry bag with just a coupler inserted. Push the coupler into the center of each cupcake and pipe about a tablespoon of the cherry filling into each one.
Filled cupcakes ready to be frosted.
Chocolate Buttercream:
6 large egg whites
1 1/4 cup granulated sugar
1/4 teaspoon cream of tartar
2 cups unsalted butter, room temperature
2 teaspoons vanilla
pinch of fine sea salt
1 teaspoon espresso powder, dissolved in 1 teaspoon hot water, cooled
2/3 cup dark chocolate pieces, melted and cooled

Place the whites in a clean mixing bowl. Whisk in sugar and cream of tartar.

Place bowl over a double boiler on medium heat, stir frequently until the mixture is very hot (120 to 130 degrees Fahrenheit).

Move to mixer and whip whites on high for 2 to 3 minutes; turn down to medium low until cool (use the bowl as your guide).

In a separate bowl with a wooden spoon, stir butter to soften.

With mixer on medium/high speed, add the butter one tablespoon at a time, adding the next tablespoon just as the previous one is blended in. Once all the butter incorporated, add in vanilla, salt, coffee and chocolate whip on high speed until fluffy.
Garnish: 
Maraschino cherries, drained.


Frost each cupcake and top each with a cherry.


All done!

Friday, December 7, 2012

Cherry Shortbread Cookies


A recipe suggestion from my friend Jennifer and a lack of refrigerator space led me to create these cherry shortbread cookies.

A while back, Jennifer, who also happens to be a chef, mentioned that she made some wonderful sour cherry shortbread from Leslie Mackie's "Macrina Bakery and Cafe" cookbook.

I found the recipe and liked it but knew I couldn't follow it precisely since it called for rolling the dough into two large rectangles and then chilling them on two sheetpans in the refrigerator. I don't have that much refrigerator space! I wish I did.

My solution was to change the recipe's ingredients and method a bit. Instead of chilling the sheets of dough, I rolled the dough into logs that I could fit into my fridge and then sliced them into cookies.

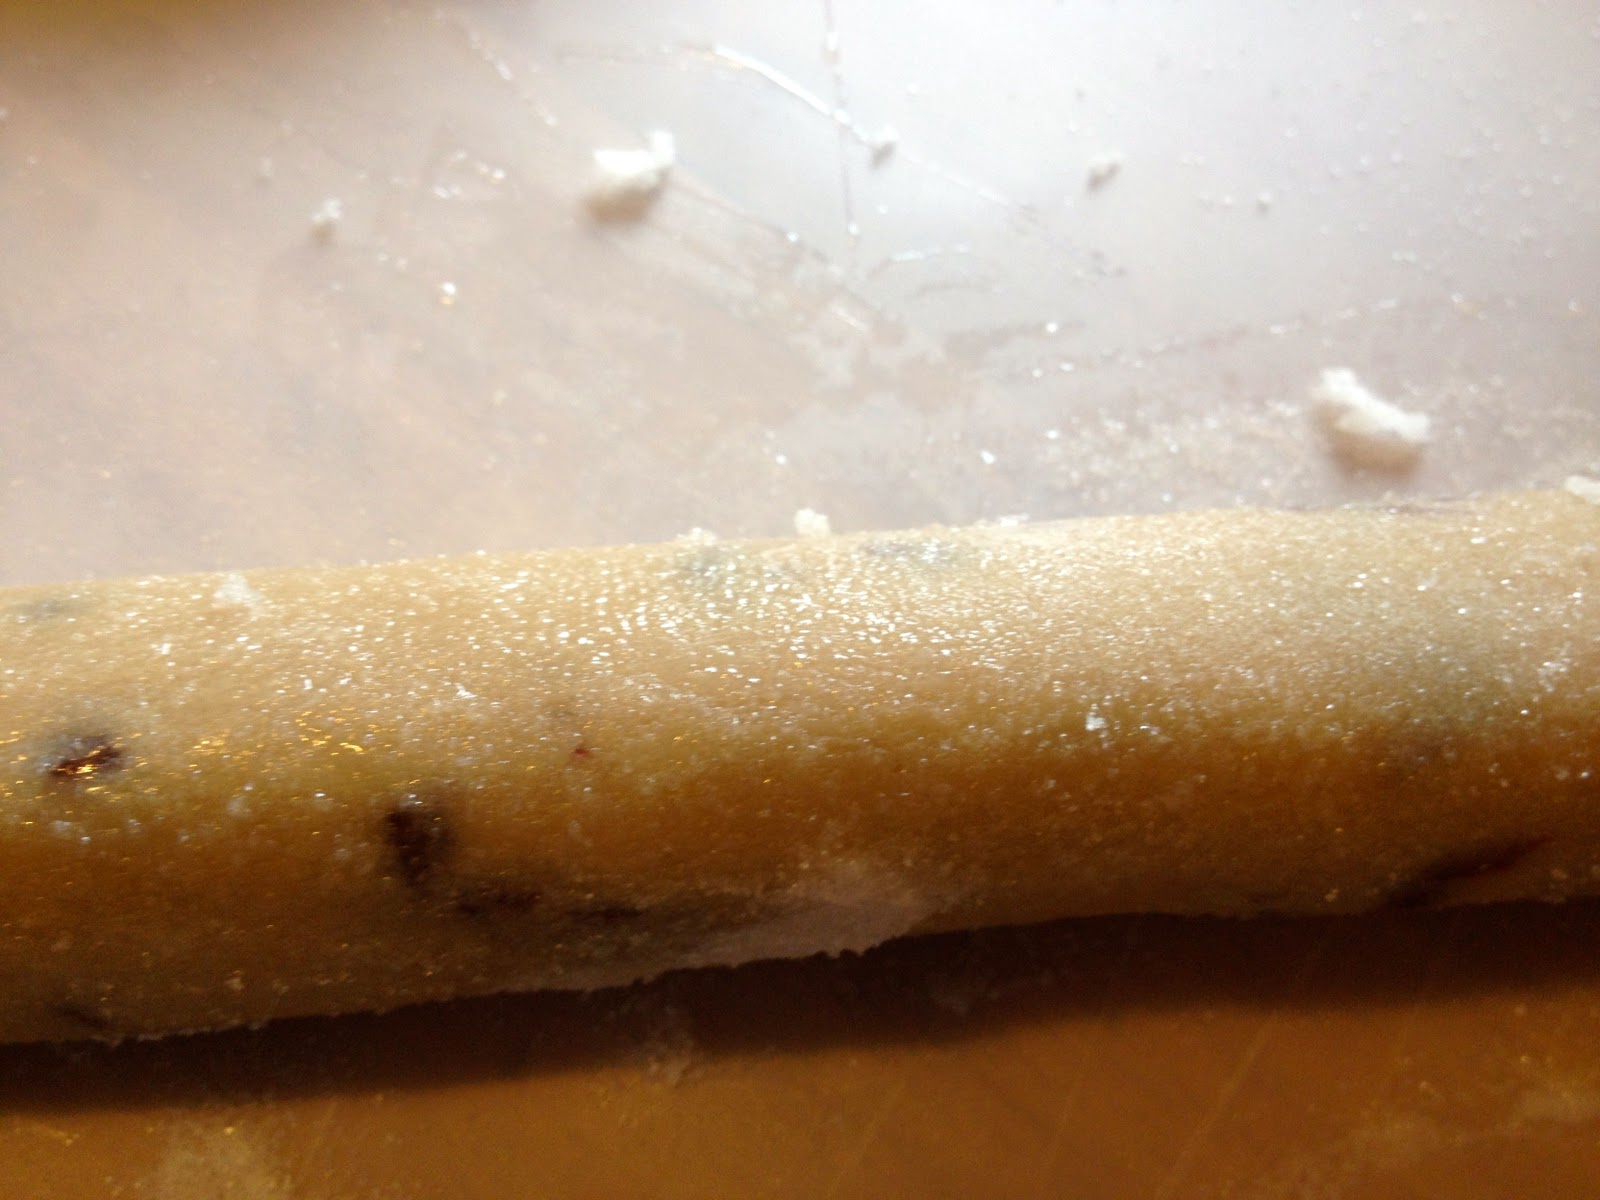
Before cutting, I brushed the logs with egg white and rolled them in granulated sugar for a sweet and pretty coating around the edges.

I also increased the amount of dried cherries by 1/4 cup, substituted dark brown for the light brown sugar and added 1/2 teaspoon of almond extract. In my baking, I've discovered that the flavor of almond and cherry are kissing cousins and a bit of almond extract in cherry desserts really enhances them.

These cookies come together fast and you'll get five dozen with just one batch.


Cherry Shortbread
(makes 5 dozen)

1 cup dark brown sugar, lightly packed
1/2 cup cornstarch
3 1/2 cups flour
1 teaspoon fine sea salt
2 cups unsalted butter, softened
1 cup tart dried cherries, chopped (I like Tart Montmorency Cherries from Trader Joe's)
1 tablespoon vanilla extract
1/2 teaspoon almond extract
1 egg white
granulated sugar

In a stand mixer, combine the sugar, cornstarch, flour, salt. Mix until combined and add the butter, a bit at a time. The mixture will look dry at first but then magically come together as you add the last bit of butter. Add the cherries, vanilla and almond extract and mix just until well combined.
The mixture will look like this before you add the cherries and flavorings.

Divide the dough into three parts. Roll each part into a 12 to 15 inch log that is about 1 1/2 -inches in diameter. Wrap each log with plastic wrap and refrigerate for at least 1 hour or until the logs are very firm.
Roll each third of the dough into a log. I find that it is easiest to roughly shape the dough, wrap it in the plastic wrap and then roll some more.
Place the logs in the refrigerator to cool for 1 hour.

Preheat the oven to 325 degrees and line four baking sheets with parchment paper.

Brush one log at a time with egg white and coat with granulated sugar. Slice the log into 1/4 thick cookies and place on sheetpans leaving at least 1-inch space between them.
Brush each log with egg white and roll in granulated sugar.
Leave space between the cookies because they will spread a bit.

 Bake for 20 to 25 minutes or until just golden brown around the edges. Let cool before removing from the sheet pan.
Let the cookies cool before packaging.
A package of cookies ready to give. I made three stacks of three cookies in cupcake papers and then placed them in a food safe cellophane bag. A pretty bow is a nice touch.

Thursday, December 6, 2012

Custom Giant Sugar Cookie

Recently my daughter Eleanor wanted to give two friends a giant decorated sugar cookie for their birthdays and so we came up with these designs.

Midori's cookie.

Owen's cookie.


We made the custom cookies just by hand cutting the dough into a large rectangle. Then, all you have to do is bake it and decorate it the way you want. Using cookie cutters to cut shapes for the double-decker cookie is easy and gives you professional looking results.

The pieces before baking. The giant rectangle took 18 minutes to bake.


The cookies we cut were 6 by 8-inches and Owen's double-decker one weighed three-fourths of a pound! These cookies were made to be shared - at least I hope so!

Wrapped and ready to give.

Wednesday, December 5, 2012

MMM....Onion Rings


We served golden brown and crispy onion rings at the Wednesday Community Meal today thanks to dedicated volunteer Rieko who managed the deep frying and worked so hard.

We don't have any fancy deep fryers in our kitchen so she cooked them on the stove in a deep saucepan. Working for hours, Rieko patiently fried a case and a half of onion rings and every single one was cooked to perfection and loved by our guests. 

One of the reasons they turned out so great is that she made sure the oil was just the right temperature (between 325 and 375 degrees) and she resisted overloading them into the hot oil. Because the temperature of the oil was perfect, the onion rings weren't greasy. They were crisp and delicious.

We served 290 meals today and in addition to the onion rings we served crispy roasted chicken, soup, salad and dessert.

It was a great day.

Oven Roasted Chicken and Crispy Onion Rings
Green Salads

Split Pea Soup


Monday, December 3, 2012

The Print On Pyrex

My new measuring cup.

My 2-year old measuring cup.

I had to buy a new glass Pyrex measuring cup over the weekend since my 2-year old one is completely unreadable. The red print has just faded and faded away.

Before two years ago I had a Pyrex measuring cup that my mom had given me in the early nineties and the print on it was bright red until the day it shattered when my daughter accidentally dropped it on the back porch.

So why is the print disappearing on my newer one?


According to an employee at the Corningware, Corelle & More Store where I bought my new Pyrex cup, it's because about ten years ago, the company had to redo the ink formula because the orginal contained lead.

She told me that she hears complaints all the time about the new ink fading and that the new cups need to be hand washed.

"You must hand wash them. It's the dishwasher detergent that does the damage," she said.

Good advice that I'm going to follow - I don't enjoy washing dishes by hand but being able to accurately measure is more important.

Sunday, December 2, 2012

Cheese Puffs


My dear friend Cheryl invited me over to help her make a few hundred cheese puffs for an event. Working with her was so much fun and a learning experience.

I've made cheese puffs before but I always thought I had to make them right before I wanted to serve them which can be kind of stressful. Cheryl taught me that these cheesy delights made with classic pate choux pastry can be made and baked in advance and reheated right before serving for a quick and pleasing appetizer. She told me I could even freeze them after baking as long as I was certain to wrap them well.

Please give these a try - they are just the thing to serve at holiday parties.

Cheese Puffs
(makes three dozen)

1 cup water
1 cup butter, unsalted
1/2 teaspoon salt
1 cup flour
3 eggs
1 cup sharp cheddar cheese, grated
fresh ground black pepper

Preheat the oven to 425 degrees. Don't use the convection setting. Also, line two sheet pans with parchment paper.

Heat the water, butter and salt in a saucepan over medium heat until the butter is melted.

Add the flour and with a wooden spoon stir until it comes together and forms a ball in the pan.

With the heat on medium, continue stirring for 5 minutes or until the dough becomes stiffer. The idea is that you want to dry out the dough so that when the eggs are incorporated later it will still hold its shape.

Transfer the dough into the bowl of a stand mixer and beat on low speed for a few minutes to cool the dough.

With the mixer on medium, add the eggs one at a time until the dough is the consistency of cookie dough.

Finally, add the cheese and a generous amount of black pepper.

Transfer the mixture to a piping bag with a large tip or use a teaspoon to place 1-inch mounds of dough on the sheet pans.

Bake for 10 minutes. Reduce the oven temp to 350 degrees and bake for another 10 to 12 minutes or until the puffs are golden brown and crisp.


Saturday, December 1, 2012

Double Decker Christmas Cookies

I just bought a set of mini Christmas cookie cutters and couldn't wait to get to work.

These double decker cookies came together fast and were assembled just like the Thanksgiving double decker cookies I made last month.

I was tempted to add red dots to decorate the tree cookies but my daughter convinced me to leave them plain. Sometimes less is more and the simplicity gives them a more modern look.